
Introduction: My Journey From Simple to Glam
I’ve always been a minimal makeup girl – a little kajal, lip balm and done. But when I tried my first full glam look at my best friend’s engagement, I realised that a little shimmer and shine instantly lifts any look.
From that day on, I started experimenting – sometimes with eyeshadow shades, sometimes with a glow of highlighter. After a lot of trial and error, I found my perfect glam combo, which looks natural and party-ready at the same time. Today, I’m sharing that experience with you – real, tried and truly loved!
Step 1: Skin Prep — The Real Game Changer
I used to think the magic of a glam look was in the foundation, but the truth is – the magic is in skin prep. Before applying makeup, I wash my face with a mild cleanser, then apply a hydrating moisturizer. If I have time, I rub my face a little with an ice cube – it tightens pores and makes the base smooth. I once skipped this step, and the makeup came out patchy. Since then, skin prep has become the most important step in my makeup routine.
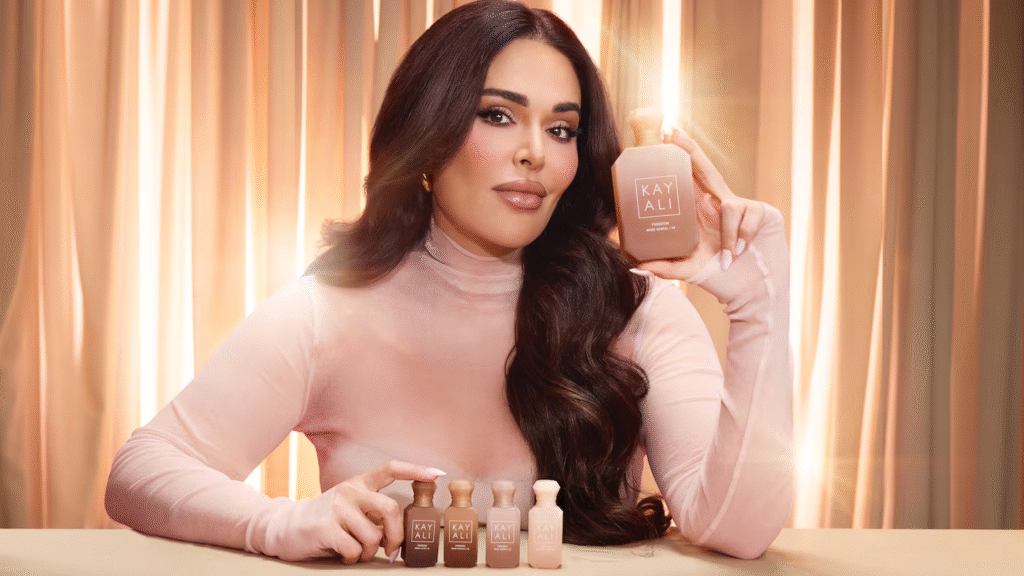
Step 2: Base That Glows, Not Cakes
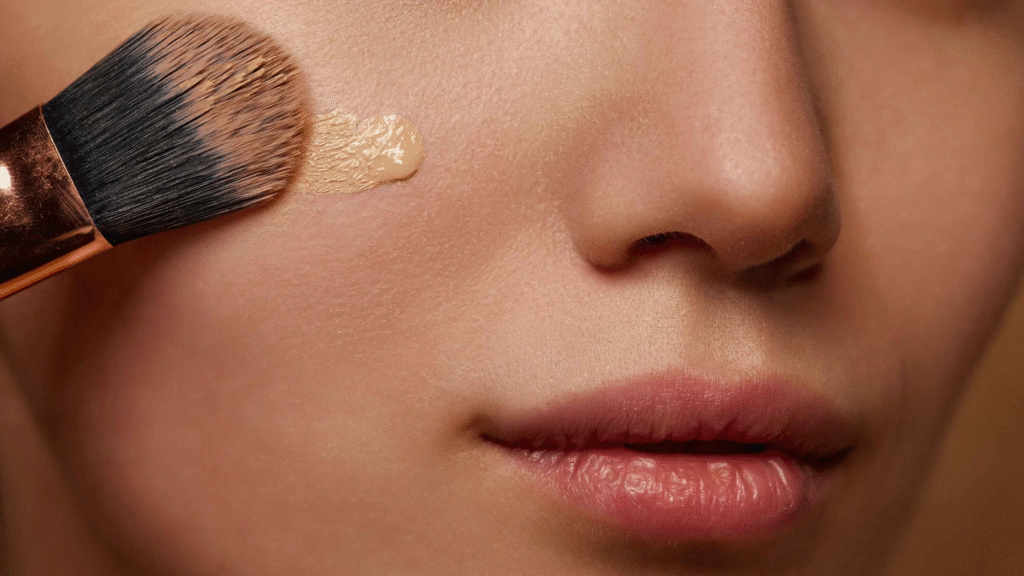
My rule when it comes to foundation is simple—“Apply less, but apply it right.”
I use a medium-coverage foundation and blend it in with a damp beauty blender. This technique gives the face a natural finish. And yes, mixing a little liquid highlighter with foundation gives a lit-from-within glow—I learned this trick from a friend and it’s now my go-to hack.
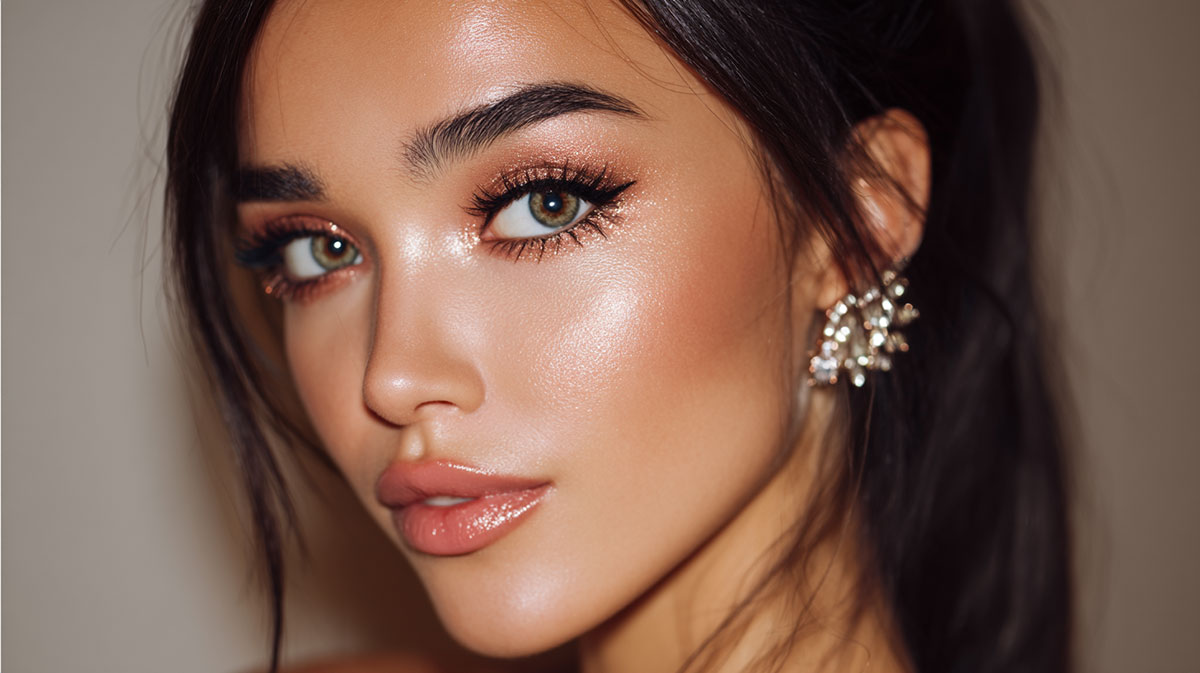
Step 3: Eyes That Steal the Show
The eyes grab the most attention with a glam look. I always prefer warm golden and soft champagne shades—they go with every outfit.
My simple 3-step eye rule:
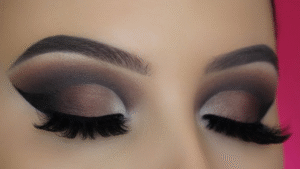
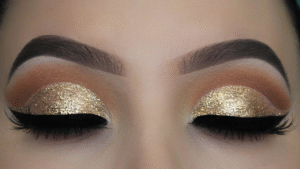
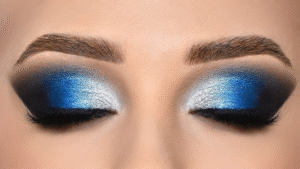
- Matte brown shade in the crease.
- Shimmery gold on the lids.
- A little sparkle on the inner corners.
And that’s it! A little eyeliner and 2 coats of mascara — and eyes are ready for the spotlight. Once I tried metallic rose eyeshadow — and honestly, everyone complimented me that day. Since then, shimmer is my signature!
Step 4: The Glow Game — Highlighter Magic
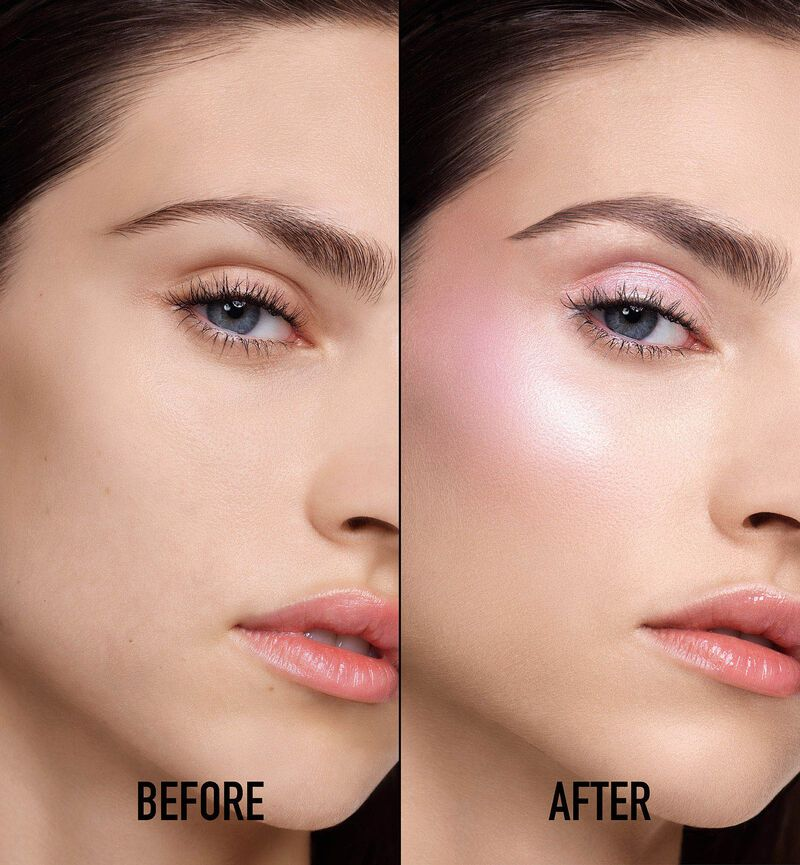
I’m a big fan of highlighter—but I don’t overdo it. A little on the cheekbones, bridge of the nose, and brow bone. I prefer powder highlighter because it gives a more controlled glow. I remember one time, at a wedding event, the light was directly on my face, and my highlighter was reflecting perfectly—a soft, natural glow that everyone noticed.
Step 5: Lips That Complete the Glam

Lip color sets the mood for the entire look. If the eyes are heavy, then nude lips, and if the eyes are subtle, then bold red or berry shade. I always use lip balm before applying lipstick – soft lips make the makeup look better.Once I applied matte lipstick directly and my lips became dry – since then, lip prep is non-negotiable!
Step 6: Setting the Shine in Place

Last step — setting spray! I use a dewy finish spray to keep my makeup long-lasting and fresh.Sometimes I mix a little highlighter into the spray — this creates a subtle shimmer evenly across my face. This is my secret hack for a dreamy finish!
Step 7: Confidence — The Final Touch
I used to think a glam look was all about makeup, but now I understand—real radiance comes from confidence. Whether you have expensive products or budget-friendly ones, your look only truly feels glam when you feel comfortable in it.
Conclusion: Shimmer That Feels Like You
Today, for me, a glam look isn’t just makeup for a party or event—it’s an extension of my personality. A little shimmer, a little glow, and a whole lot of positivity. So, the next time you stand in front of the mirror, bring your inner glow along. Because makeup looks perfect only when you feel your inner glow
This blog is based on my personal makeup routine and genuine experiences. I share tips based on my daily practice and real results. There is no paid partnership or sponsorship.
Hashtags:
#MakeupDiaries #GlamLook #ShimmerAndShine #BeautyRoutine #MakeupSecrets #GlowGoals #MyMakeupJourney#Carrerbook#Anslation
Leave a Reply